
If you’ve ever visited a nail salon or browsed nail care tutorials online, you may have come across the term builder gel. But what exactly is builder gel, how does it work, and why has it become a staple for nail enthusiasts and professionals alike? This guide will break down everything you need to know, including application techniques, benefits, popular brands, potential drawbacks, and tips for getting the best results.
Understanding Builder Gel
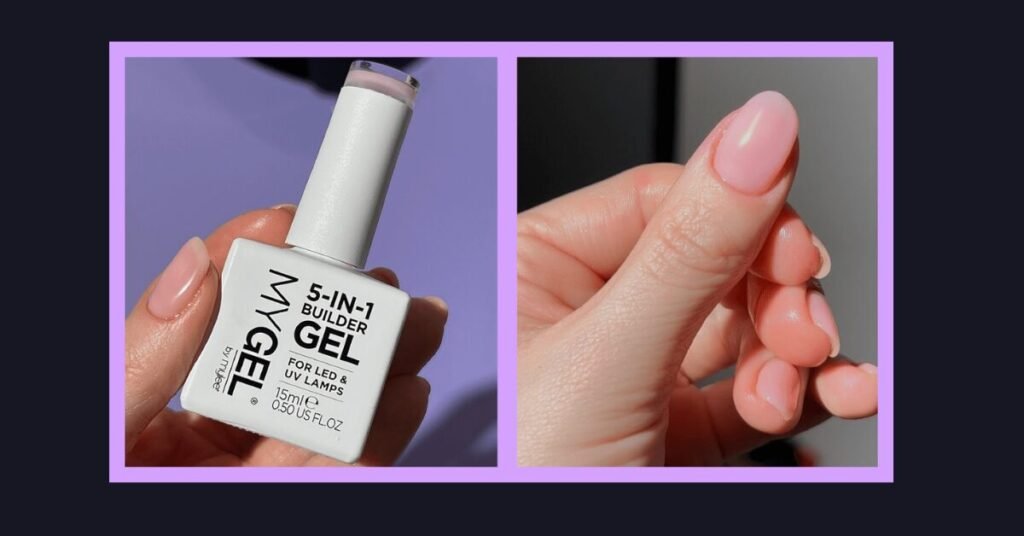
Builder gel is a type of gel nail product that is thicker and more durable than regular gel polish. Its primary purpose is to strengthen and shape natural nails, making them less prone to breaking or chipping. Unlike standard gel polish, which is mainly cosmetic, builder gel acts like a structural layer, creating a solid foundation for long-lasting, healthy nails.
Key Characteristics of Builder Gel:
-
Thicker consistency: Allows for sculpting and shaping the nail.
-
Durable and strong: Provides support for weak or brittle nails.
-
Cured under LED or UV lamps: Hardens the gel to a tough, flexible finish.
-
Versatile: Can be applied over natural nails or used to extend nails with forms or tips.
In essence, builder gel is designed not just to enhance the appearance of nails but to protect and support natural nail growth.
Benefits of Builder Gel

Builder gel has gained popularity for several reasons, particularly among people who want longer-lasting nails without frequent chipping.
1. Strengthens Natural Nails
Builder gel forms a hard protective layer over your natural nails, reducing breakage and peeling. This is particularly helpful for individuals with weak, thin, or brittle nails.
2. Promotes Nail Growth
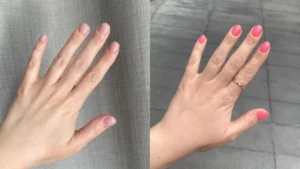
By shielding nails from everyday wear and tear, builder gel allows nails to grow stronger and longer over time. Many users report visible nail growth after months of consistent use.
3. Longevity
Builder gel nails are long-lasting, often lasting up to 4 weeks or more without chipping or lifting. This makes it a favorite for those who dislike frequent salon visits.
4. Versatility for Nail Art
Because of its thickness and durability, builder gel provides a stable canvas for nail art. You can create 3D designs, intricate patterns, or even overlays of colored gel polish.
5. Natural Appearance
When applied skillfully, builder gel can enhance the natural shape of your nails without the bulky look sometimes associated with acrylics.
Application of Builder Gel
Builder gel requires careful application and curing to achieve the best results. Here’s a step-by-step overview:
Materials Needed:
-
Builder gel (in a pot or bottle)
-
Nail prep tools (file, buffer, cuticle pusher)
-
Base coat gel
-
Top coat gel
-
UV or LED lamp
Step-by-Step Application:
-
Prep the Nails: Push back cuticles, file the nail shape, and lightly buff the surface to remove oils.
-
Apply Base Coat: A thin layer helps the builder gel adhere better. Cure under an LED or UV lamp.
-
Apply Builder Gel: Use a brush to apply a thin layer first, then add more layers to build strength and shape. Cure each layer.
-
Shape and Smooth: After curing, gently file and buff to achieve the desired shape.
-
Top Coat: Seal the builder gel with a top coat for shine and protection. Cure again under the lamp.
Removal of Builder Gel
Builder gel can be removed using an e-file or gentle buffing, rather than soaking like traditional gel polish. Proper removal preserves the natural nail and prevents damage.
Popular Builder Gel Brands
Many nail professionals and enthusiasts recommend the following brands:
-
Kokoist: Known for Mega Stick Base Gel, Builder Gel in various shades, and Ultra Glossy Top Coat.
-
Light Elegance: Offers HEMA-free builder gels like Jimmy Gel, suitable for sensitive nails.
-
Gelish: Features Foundation Flex Builder Gel, praised for smooth application and durability.
When choosing a builder gel, consider brand reputation, nail type, and desired outcome. Some gels are better for extensions, while others are ideal for natural nail strengthening.
Hard Gel vs. Builder Gel
There’s often confusion between hard gel and builder gel. Here’s a comparison:
| Feature | Hard Gel | Builder Gel |
|---|---|---|
| Purpose | Nail extensions | Nail strengthening & shaping |
| Consistency | Thick and hard | Thick but flexible |
| Application | Sculpted on forms/tips | Applied over natural nails |
| Removal | Buffing or filing | E-file or buffing |
| Ideal For | Long nails, dramatic looks | Natural nail reinforcement |
Builder gel is generally more flexible than hard gel, making it gentler on natural nails while still providing support.
Potential Drawbacks of Builder Gel
While builder gel is highly beneficial, it’s important to be aware of potential risks:
1. Nail Damage from Improper Removal
Incorrect buffing or filing can weaken the nail or cause thinning. Always have builder gel removed by a professional or follow proper e-file techniques at home.
2. Allergic Reactions
Some users may experience allergic reactions or sensitivity to gel ingredients. HEMA-free builder gels can help minimize this risk.
3. Maintenance Requirements
Builder gel nails require regular fills every 3–4 weeks to maintain appearance and structural integrity.
4. Cost
Builder gel treatments can be more expensive than standard gel polish due to the time, skill, and materials involved.
Colored Builder Gel Options
Builder gel isn’t limited to clear or nude shades. Many brands offer colored builder gels, allowing you to combine strength and style in one step. Popular colors include:
-
Natural pink or nude for a classic look
-
Sheer white for French tips
-
Bold colors like red, blue, or glitter for creative designs
Colored builder gels are perfect for long-lasting manicures without the need for additional polish layers.
Tips for Using Builder Gel at Home
For DIY enthusiasts, builder gel can be applied at home with the right tools and technique:
-
Invest in Quality Tools: High-quality brushes, lamps, and gels make a big difference.
-
Prep Properly: Always clean and buff nails before applying gel.
-
Apply Thin Layers: Multiple thin layers are better than one thick layer to prevent bubbling or uneven curing.
-
Cure Each Layer: Ensure each layer is fully cured under the LED or UV lamp to avoid lifting.
-
Protect Cuticles: Avoid getting gel on the skin to prevent irritation.
Builder Gel for Nail Growth
One of the biggest advantages of builder gel is its ability to support natural nail growth. By providing a protective layer, it prevents nails from breaking, peeling, or splitting. Many users report longer, stronger nails after consistent builder gel use—sometimes within a few months.
Unique Nail Art Ideas with Builder Gel
Builder gel provides a durable canvas for creative nail art:
-
3D Designs: Sculpt flowers or other elements using thick gel layers.
-
Encapsulation: Embed glitter, foil, or small charms within the gel.
-
French Manicure: Use sheer pink or nude builder gel with white tips for classic elegance.
-
Layered Ombre: Gradually blend colors for a soft gradient effect.
With builder gel, your nails can be both strong and artistic.
Conclusion
Builder gel is a versatile and durable gel nail product that strengthens natural nails, promotes growth, and creates a long-lasting, polished appearance. While it requires proper application and maintenance, the results can be stunning and transformative for anyone struggling with weak or brittle nails.
From natural nail reinforcement to intricate nail art, builder gel offers endless possibilities for both professionals and DIY enthusiasts. By understanding the application process, benefits, and potential drawbacks, you can enjoy beautiful, resilient nails with minimal worry.
Whether you’re aiming for longer nails, a protective overlay, or a base for creative designs, builder gel is an excellent choice for strong, healthy, and stylish nails.